- Helicon
- 9
- Venice Foundation & Pool Area Stabilization: Structural Polyurethane Soil & Slab Injections
Venice Foundation & Pool Area Stabilization: Structural Polyurethane Soil & Slab Injections
Venice, FL
Market: Residential
Solution: Foundation Repair & Soil Stabilization
Services: Two‑Part Structural Polyurethane Injections (Soil and Slab Support)
The Project
Property Type: Single‑family residence with interior tile floors, a screened pool enclosure (pool cage), lanai/patio slabs, and an in‑ground concrete pool.
Location: Venice, FL (Sarasota County)
Owner Priorities:
- Stabilize foundation and slab support—especially around the dining room and pool cage.
- Attempt lift of the pool enclosure only if safe and feasible; avoid stressing the cage or the pool shell.
- Keep the solution non‑demolition and fast‑curing to minimize disruption.
- Create a stable platform for future cosmetic work (tile replacement/repair, pool deck resurfacing).
Observed Symptoms (Pre‑Work):
– Popping tiles and grout distress in the dining room (classic sign of voids or differential support under rigid finishes).
– Pool cage settlement, with misalignment noted at anchors and enclosure lines.
– Crack in the pool, a high‑stakes indicator that near‑surface soils may be moving and that the shell and surrounding deck transitions are being stressed.
Likely Contributors: Sarasota County homes frequently sit on mixed fills and sandy soils sensitive to moisture variability. Over time, irrigation, rainfall, and organics decay can create void paths and loss of bearing under interior and exterior slabs, leading to concrete lifting needs, enclosure misalignment, and stressed finishes.
The Challenge
- Stability vs. lift expectations. While the owner hoped for a pool cage lift, uncontrolled elevation changes can impose stress on the screen enclosure, anchors, and the pool shell. The acceptance criteria, therefore, prioritized stabilization, contact restoration, and measured micro‑corrections only where behavior was uniform and safe.
- Tile distress inside. Popping tiles indicate voids or differential movement beneath a rigid finish. Any repair must re‑establish slab‑to‑soil contact gently to avoid additional damage.
- Multiple surfaces & interfaces. The home included interior slab-on-grade, lanai/patio slabs, pool deck areas, and the cage interface—each with different tolerances and risks. A zoned plan was required to address each area appropriately.
The Solution
Foundation Repair Through Structural Polyurethane
Helicon executed a three‑part injection program: interior slab injections, exterior slab injections, and perimeter soil stabilization—all using two‑part structural polyurethane engineered for soil coupling, void fill, and rapid cure.
1) Interior Slab Injections
- Material: ~24 lbs of two‑part polyurethane.
- Purpose: Restore slab‑to‑soil contact beneath tile‑bearing areas to reduce movement drivers behind popping tiles and grout stress.
- Method: Short, metered shots through penny‑sized ports; technicians monitored thresholds and finishes to avoid over‑correction.
- Outcome: Hidden voids closed; slab support re‑established—a prerequisite for long‑term tile performance.
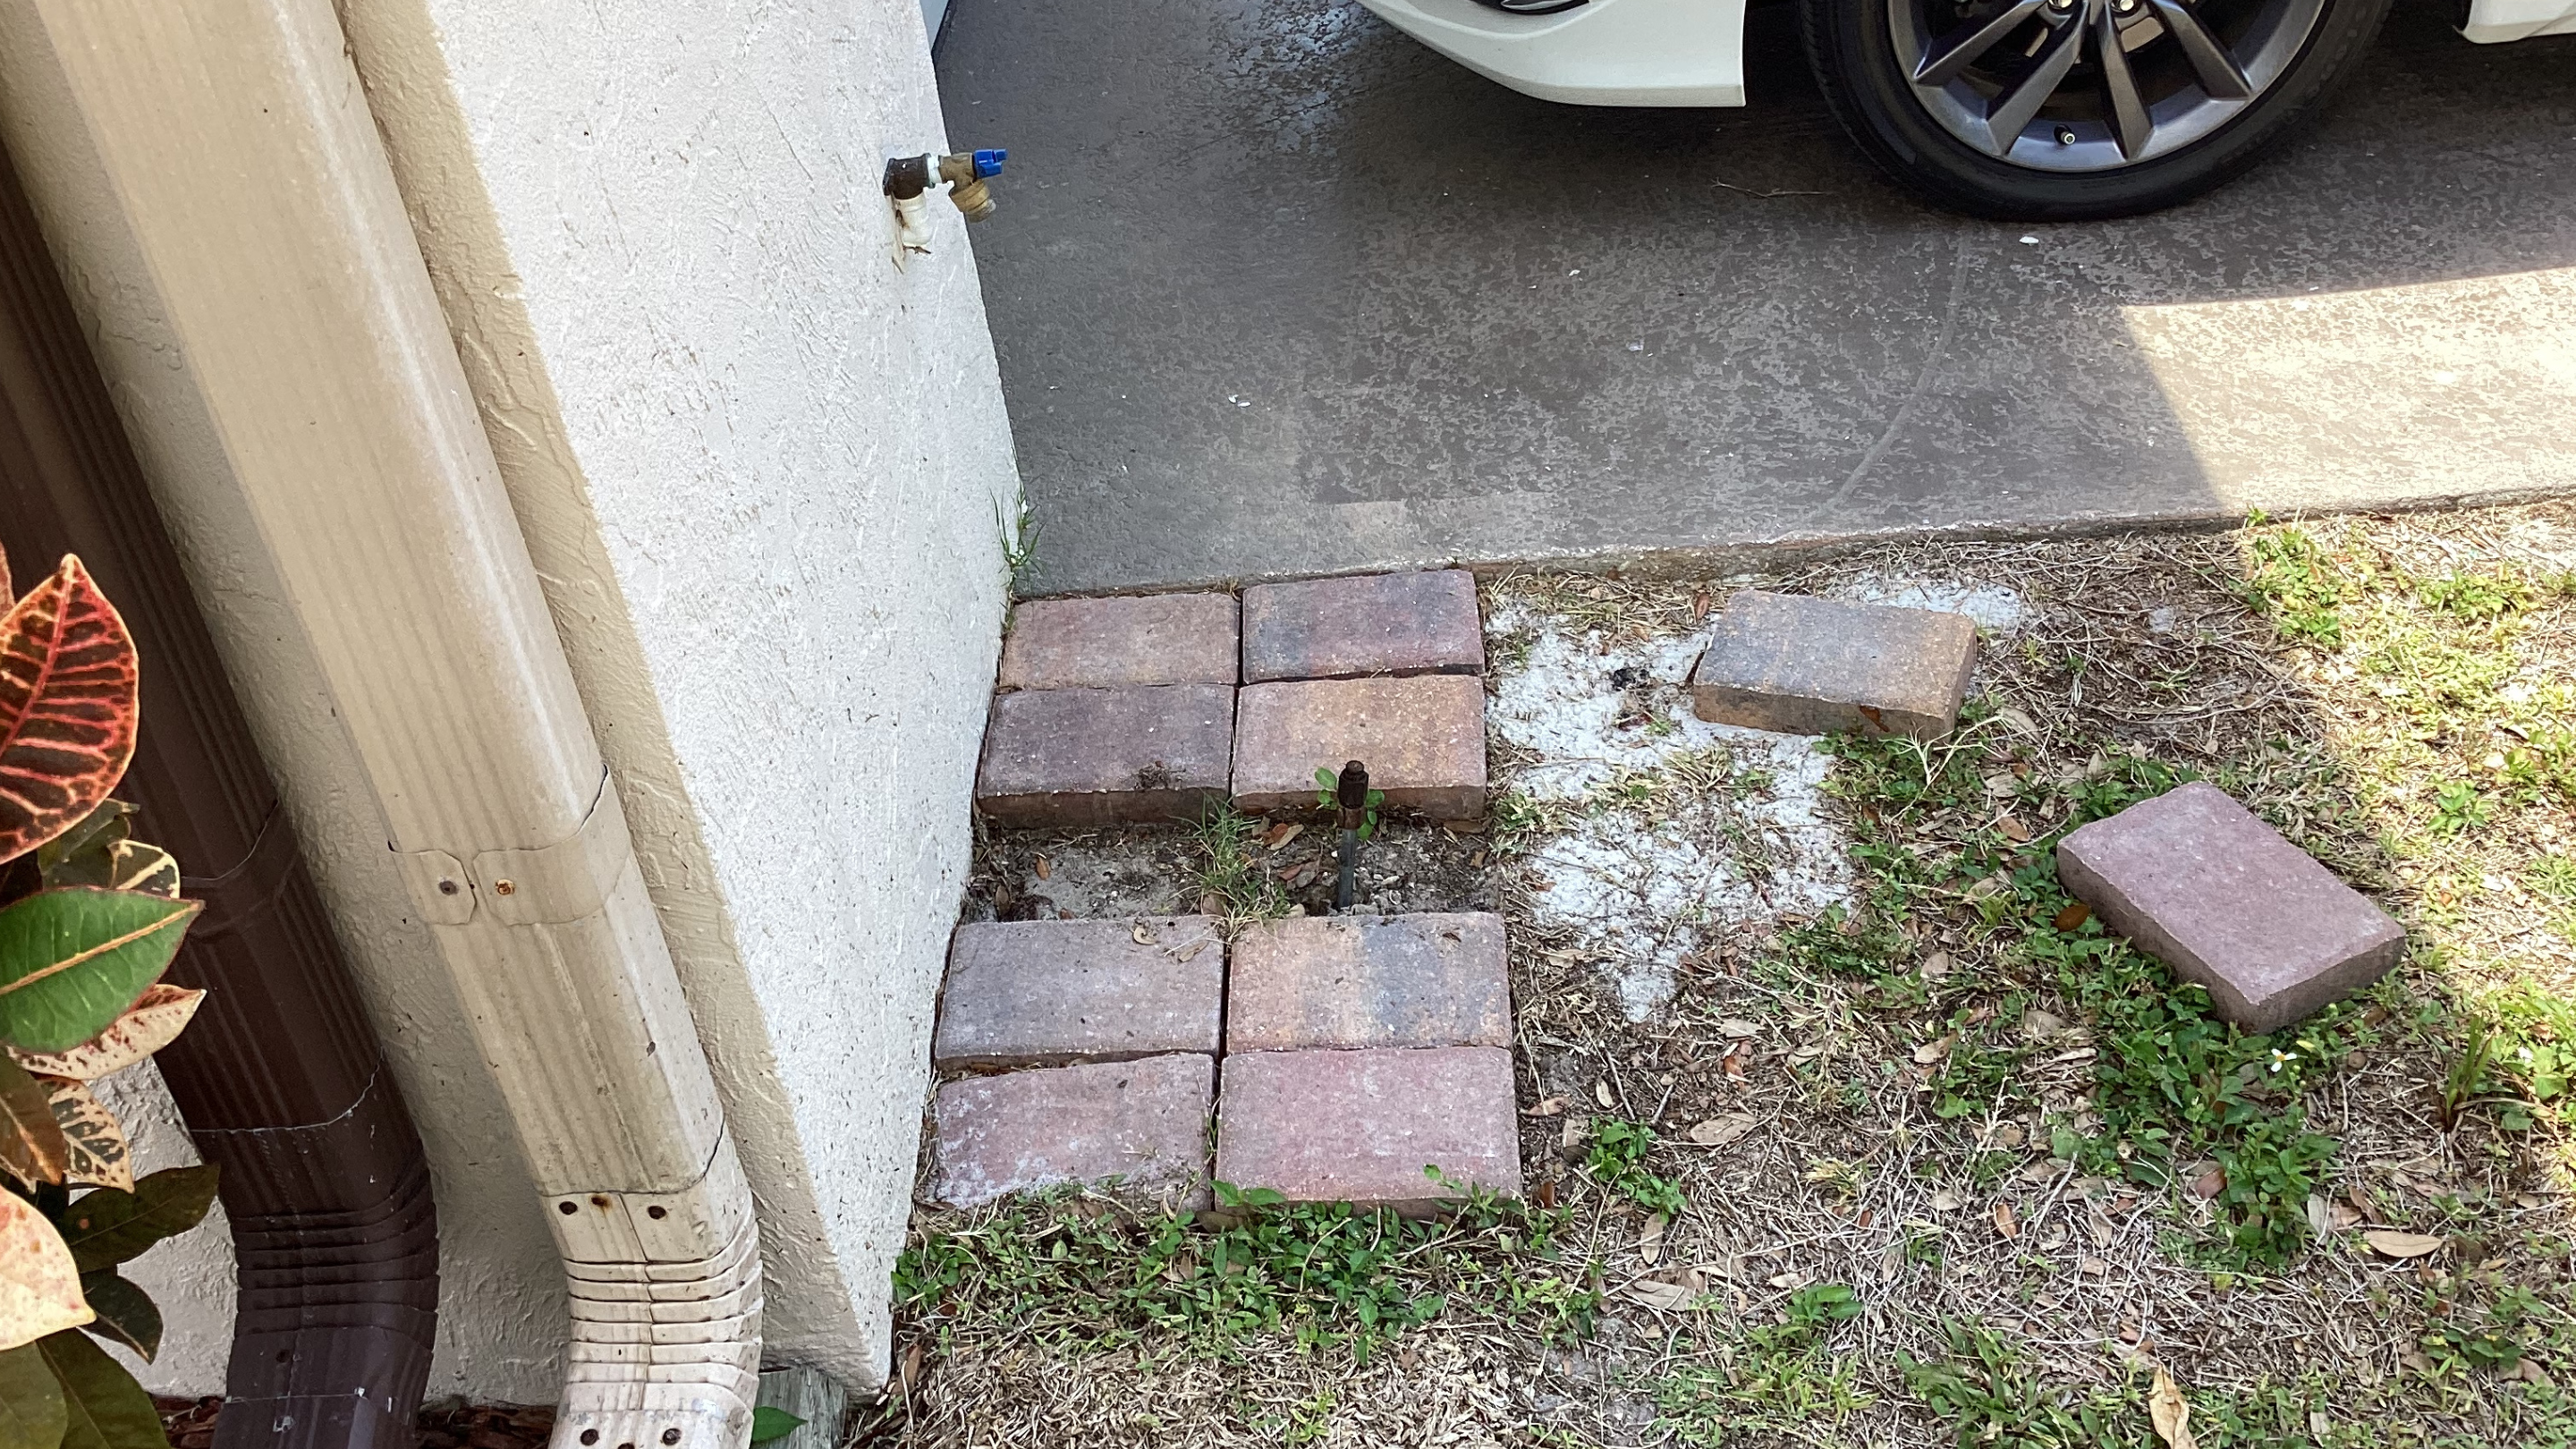
2) Exterior Slab Injections
- Material: ~66 lbs of two‑part polyurethane.
- Purpose: Fill voids and tighten the matrix beneath exterior slab transitions; reduce cantilevering at edges and improve step/joint predictability.
- Method: Mapped ports along edges and re‑entrant corners; short, controlled lifts only where response was uniform.
- Outcome: Improved support at transitions and reduced stress on enclosure anchors and finishes.
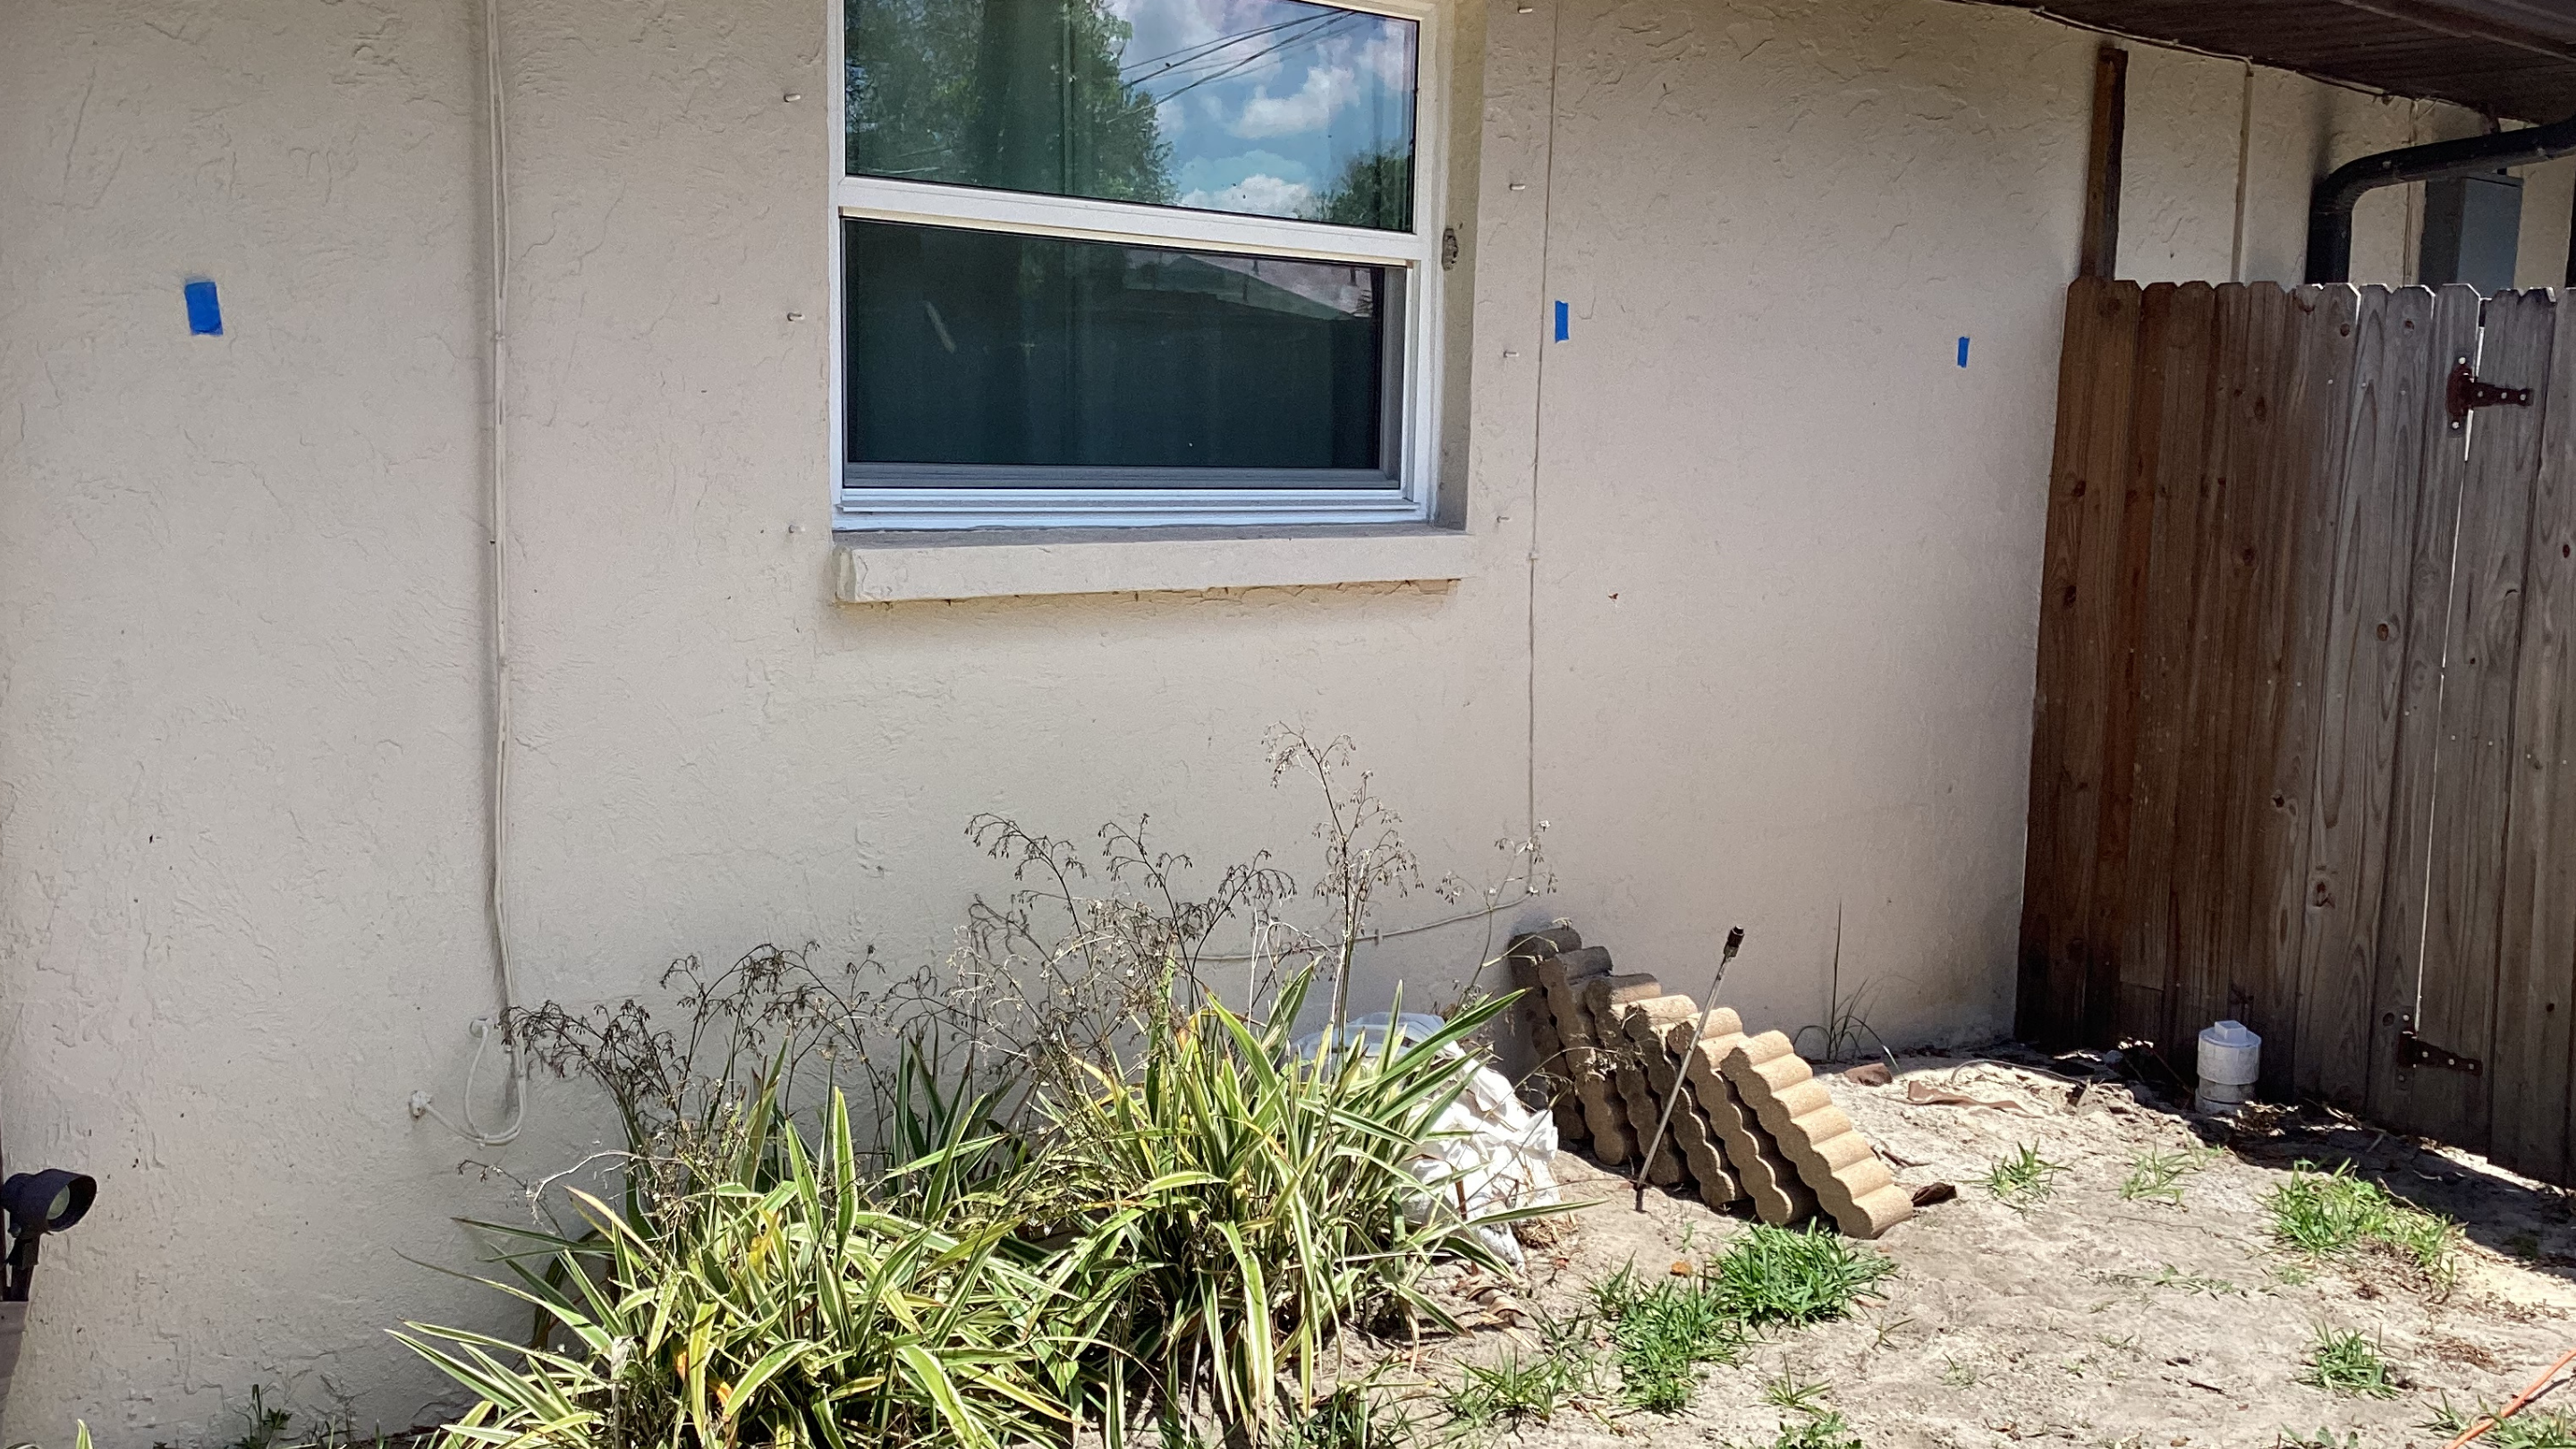
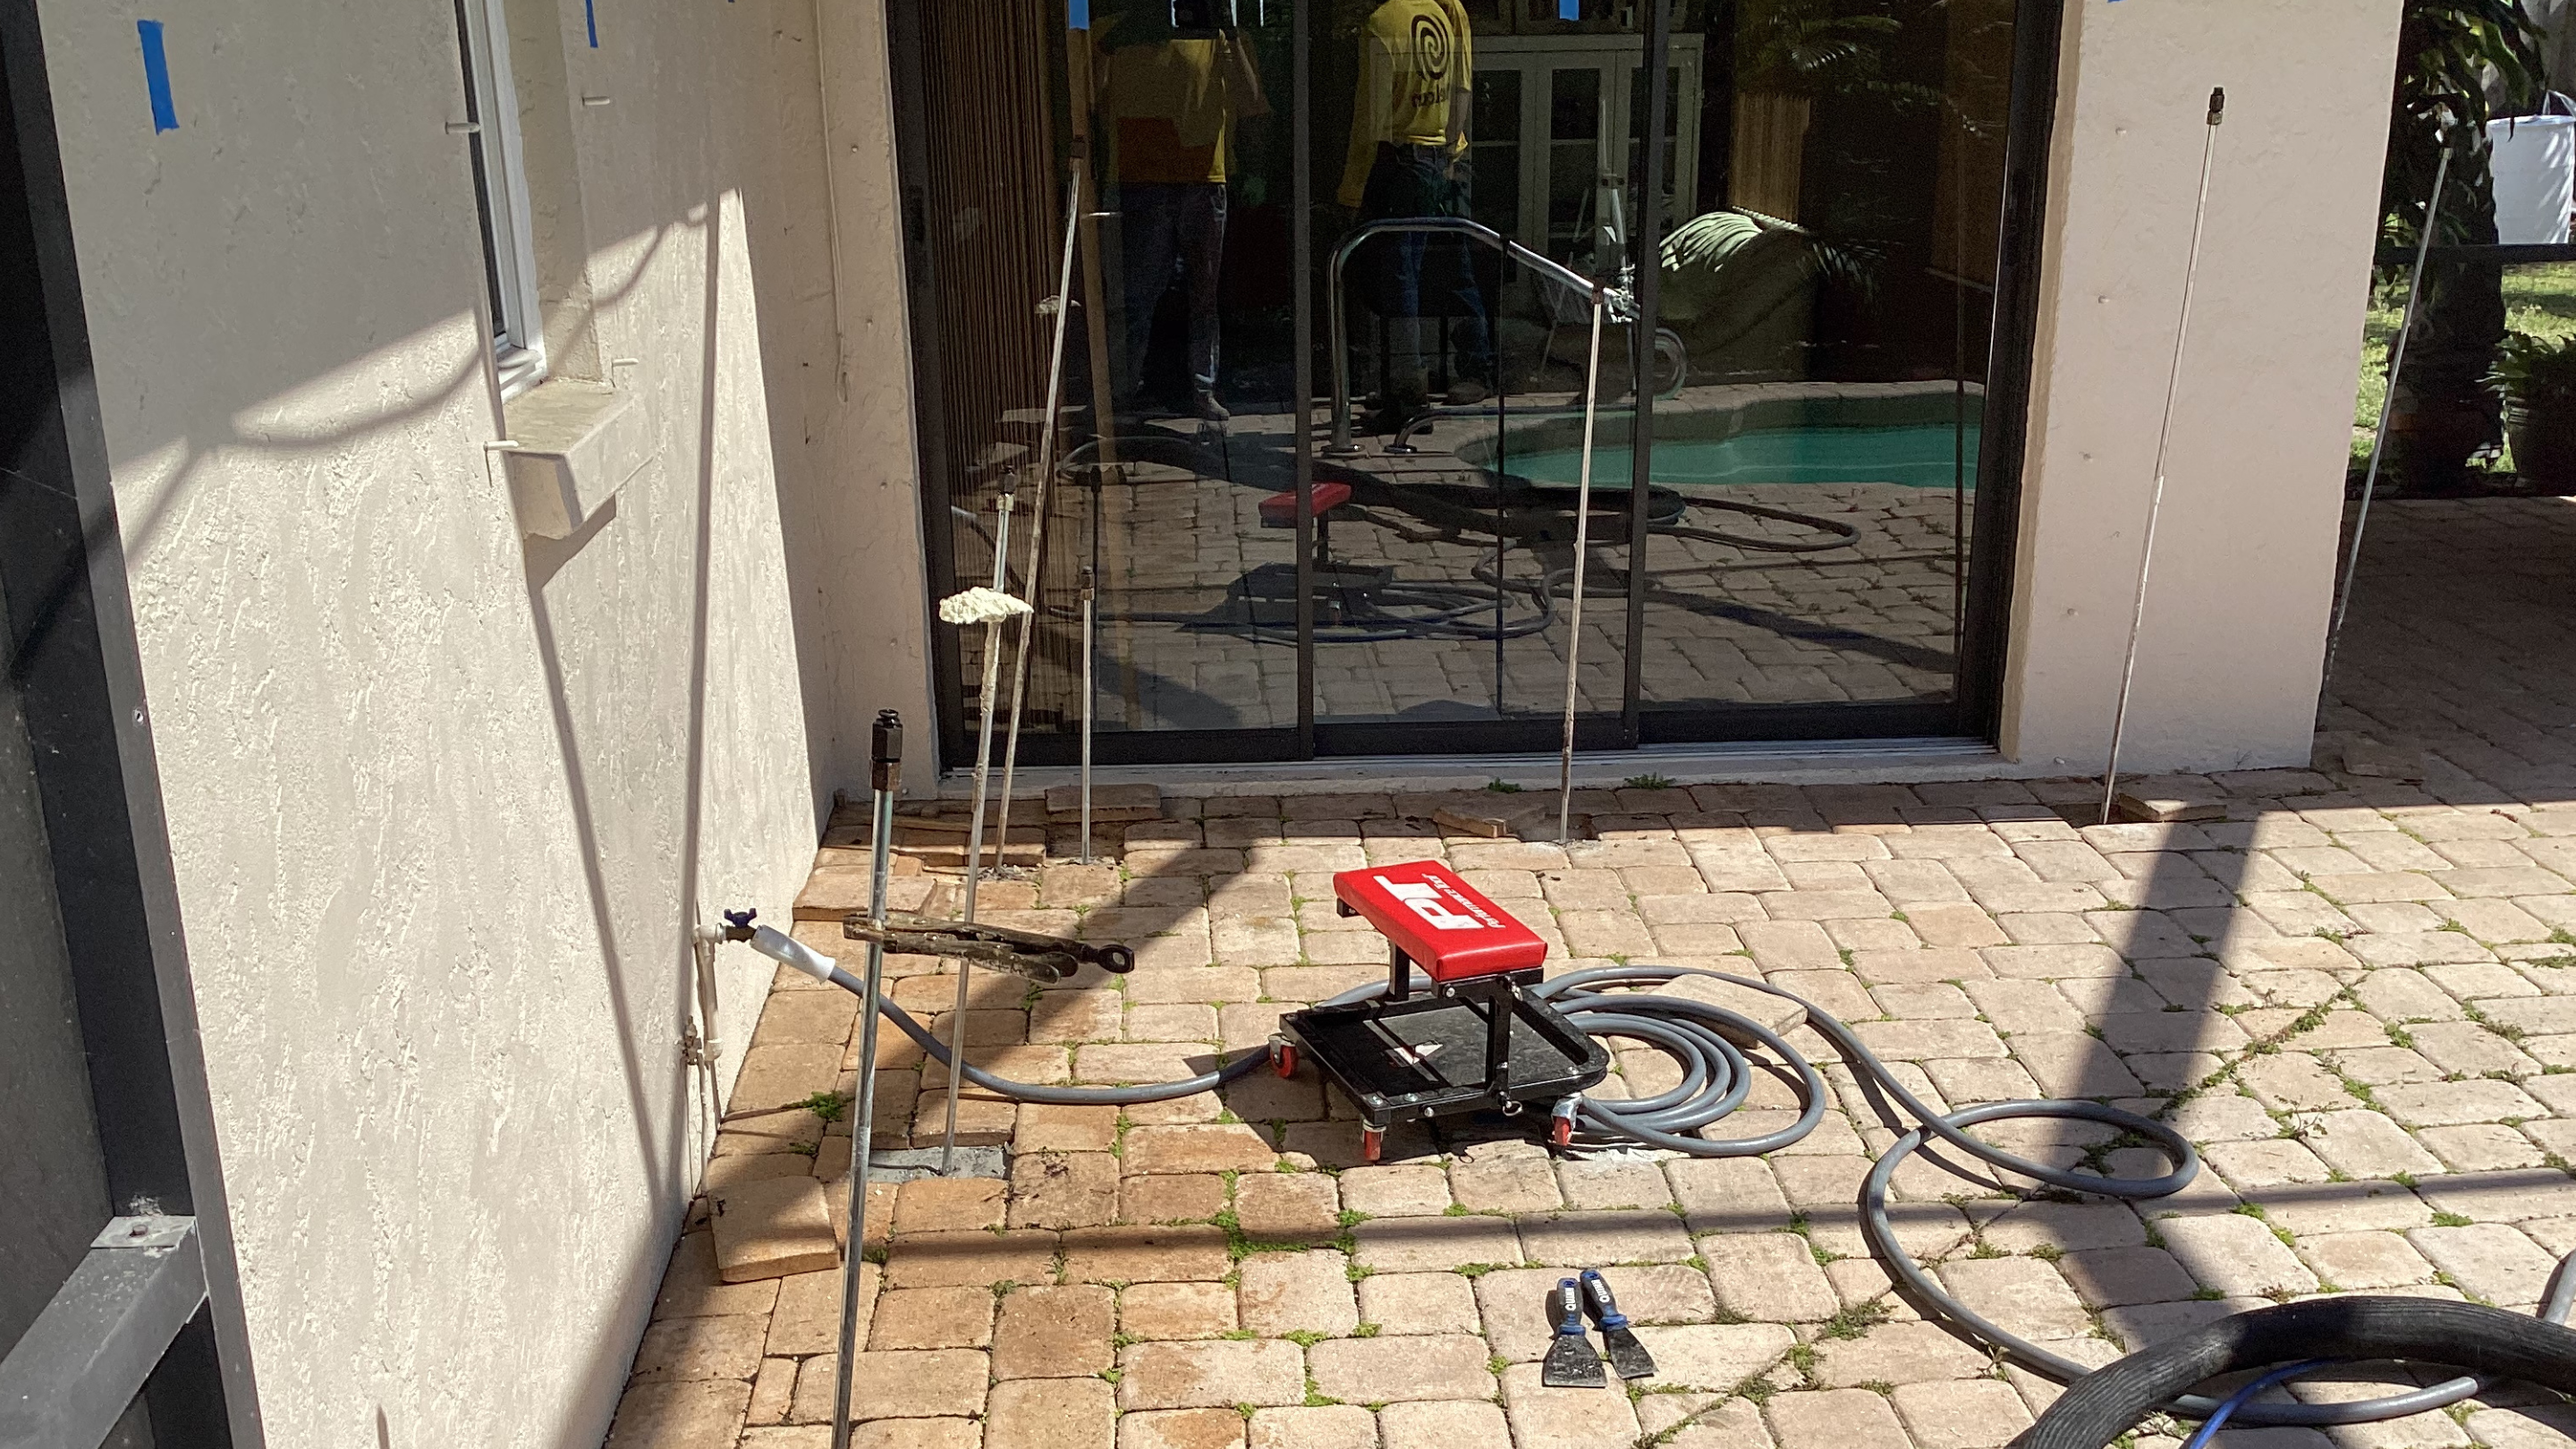
3) Soil Stabilization Grid
- Material: ~880 lbs across 44 injection points.
- Purpose: Densify the shallow influence layer (top ~24–36 inches), re‑couple grains, and interrupt void paths—especially around the pool cage and other settlement‑prone areas.
- Method: Probes advanced to design depths; staged, short shots to avoid pressure spikes; distributed injections to prevent hard spots.
- Outcome: A uniform, strengthened bearing layer that reduces future settlement risk and provides a platform for any subsequent surface work.
Results & Benefits
- Mechanism stopped at treated areas: Voids were filled, the shallow matrix tightened, and slab contact restored, reducing the drivers behind further movement.
- Improved transitions: Where feasible, micro‑corrections reduced trip edges and improved enclosure alignment without overstressing the shell or anchors.
- Ready for finishes: With soil stabilization complete, the homeowner can replace tiles and resurface the pool deck with confidence that the substrate now behaves predictably.
- Low‑disruption delivery: No demolition; small ports; minimal dust; same‑day usability in most areas.
- Florida‑ready durability: Polyurethane is inert after cure and tolerates moisture—advantageous in Venice’s coastal environment.
Why “Stabilize First, Lift Second”
Leveling unsupported concrete is short‑lived. The durable sequence is:
- Stabilize soils (close voids, densify the matrix).
- Restore contact (uniform support).
- Lift carefully (only where the structure and finishes respond safely).
This strategy protects tile, coping, and enclosure components while addressing the root cause: soil performance.
Homeowner FAQs
Can you guarantee the pool cage will lift back into place?
No. Lift is never guaranteed, particularly near a pool shell and screen enclosure where stiffness and connections limit movement. The priority is stabilization; measured corrections are attempted only within safe limits.
Will the popping tiles recede after stabilization?
Stabilization removes the driver (support loss). Some tiles may reseat; others may need replacement—but now on a stable base that protects your investment.
How long will polyurethane stabilization last?
Once cured, the foam is inert and moisture‑resistant. Longevity depends on drainage, loading, and joint maintenance; with good practices, performance is long‑lasting.
Is this safe for the pool shell and plumbing?
Yes. We use short, controlled injections, respect utilities and the shell interface, and avoid over‑pressurization by distributing shots across many ports.
Care & Maintenance (Keep It Stable)
- Drainage discipline: Maintain gutters and downspout extensions; don’t discharge directly at slab edges.
- Irrigation balance: Avoid chronic oversaturation near foundation and pool deck.
- Joint management: Keep control joints and edge sealants maintained to limit water ingress and fines migration.
- Seasonal check‑ins: Photograph door thresholds, cage lines, and tile transitions twice a year for the first 12–18 months; call early if changes appear.
About Helicon
Helicon is Florida’s trusted partner for foundation repair, soil stabilization, concrete lifting, and sinkhole remediation. We serve homeowners across Sarasota County and the Suncoast, delivering clean, minimally disruptive solutions backed by engineering‑grade documentation.
Noticing popping tiles, cage misalignment, or cracking around your pool in Venice, Nokomis, or Osprey? Helicon’s soil stabilization and concrete lifting programs fill voids, restore support, and protect finishes—often in a single mobilization. Call 844‑HELICON to schedule a free inspection.
FREE INSPECTION REQUEST